Use Meta Learn's existing survey templates or customize them to perfectly fit your company.
Step 1
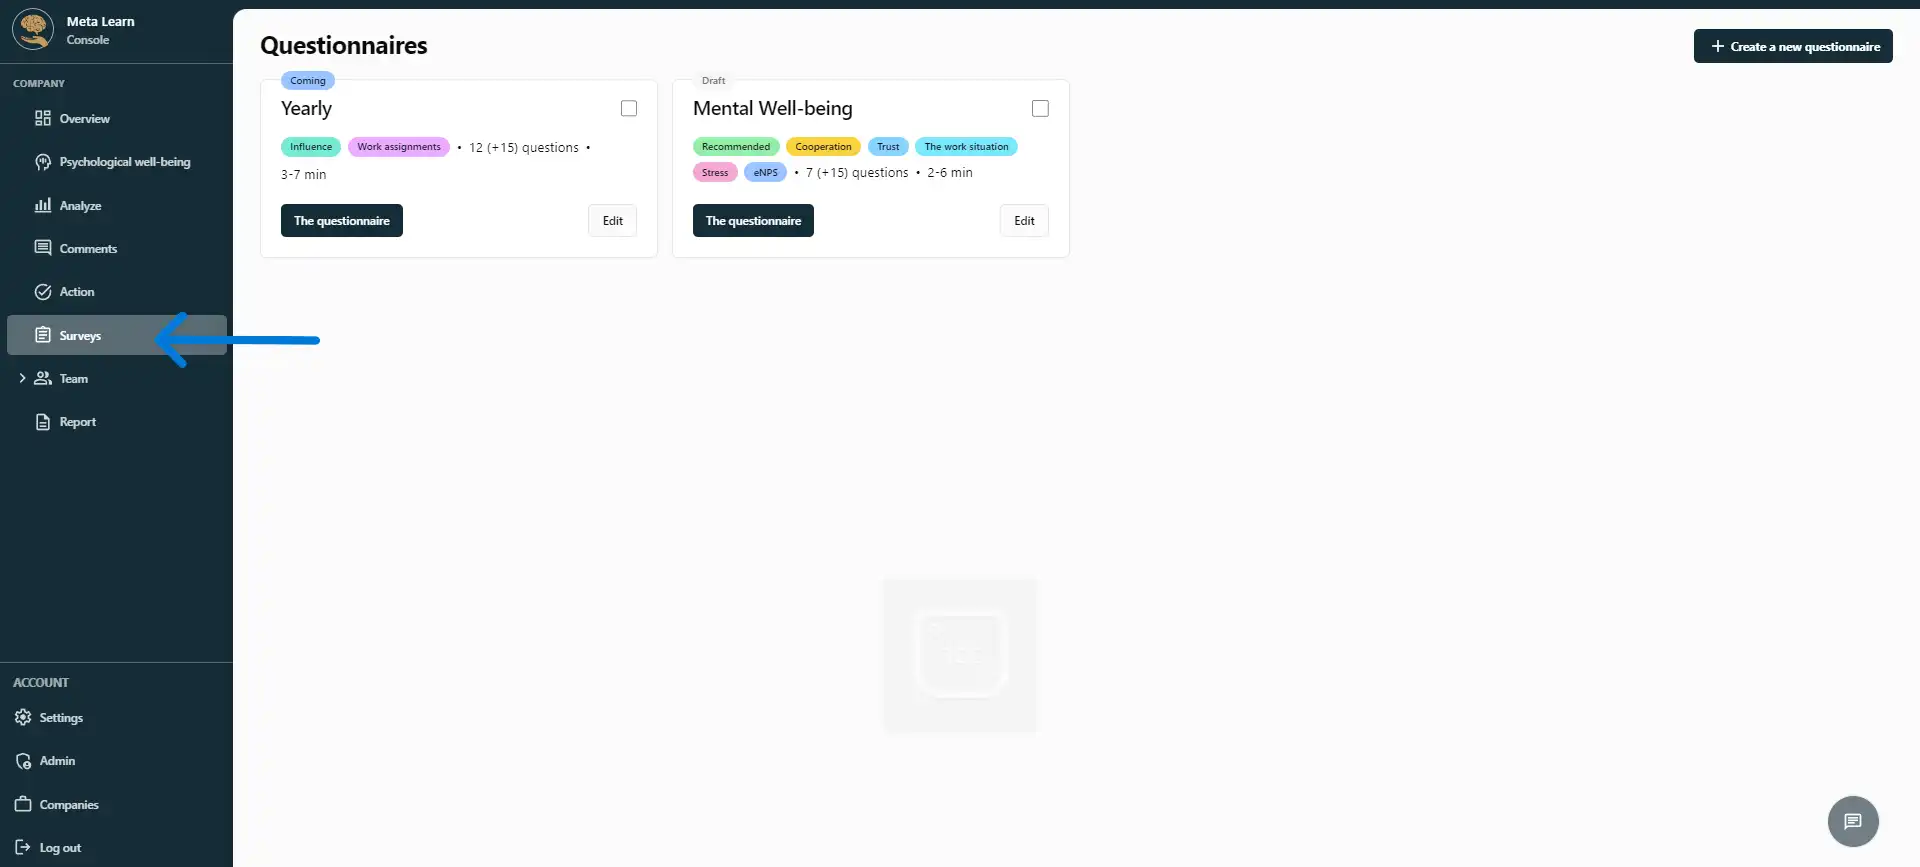
Start by clicking on "Surveys".
(see the image below)
Step 2
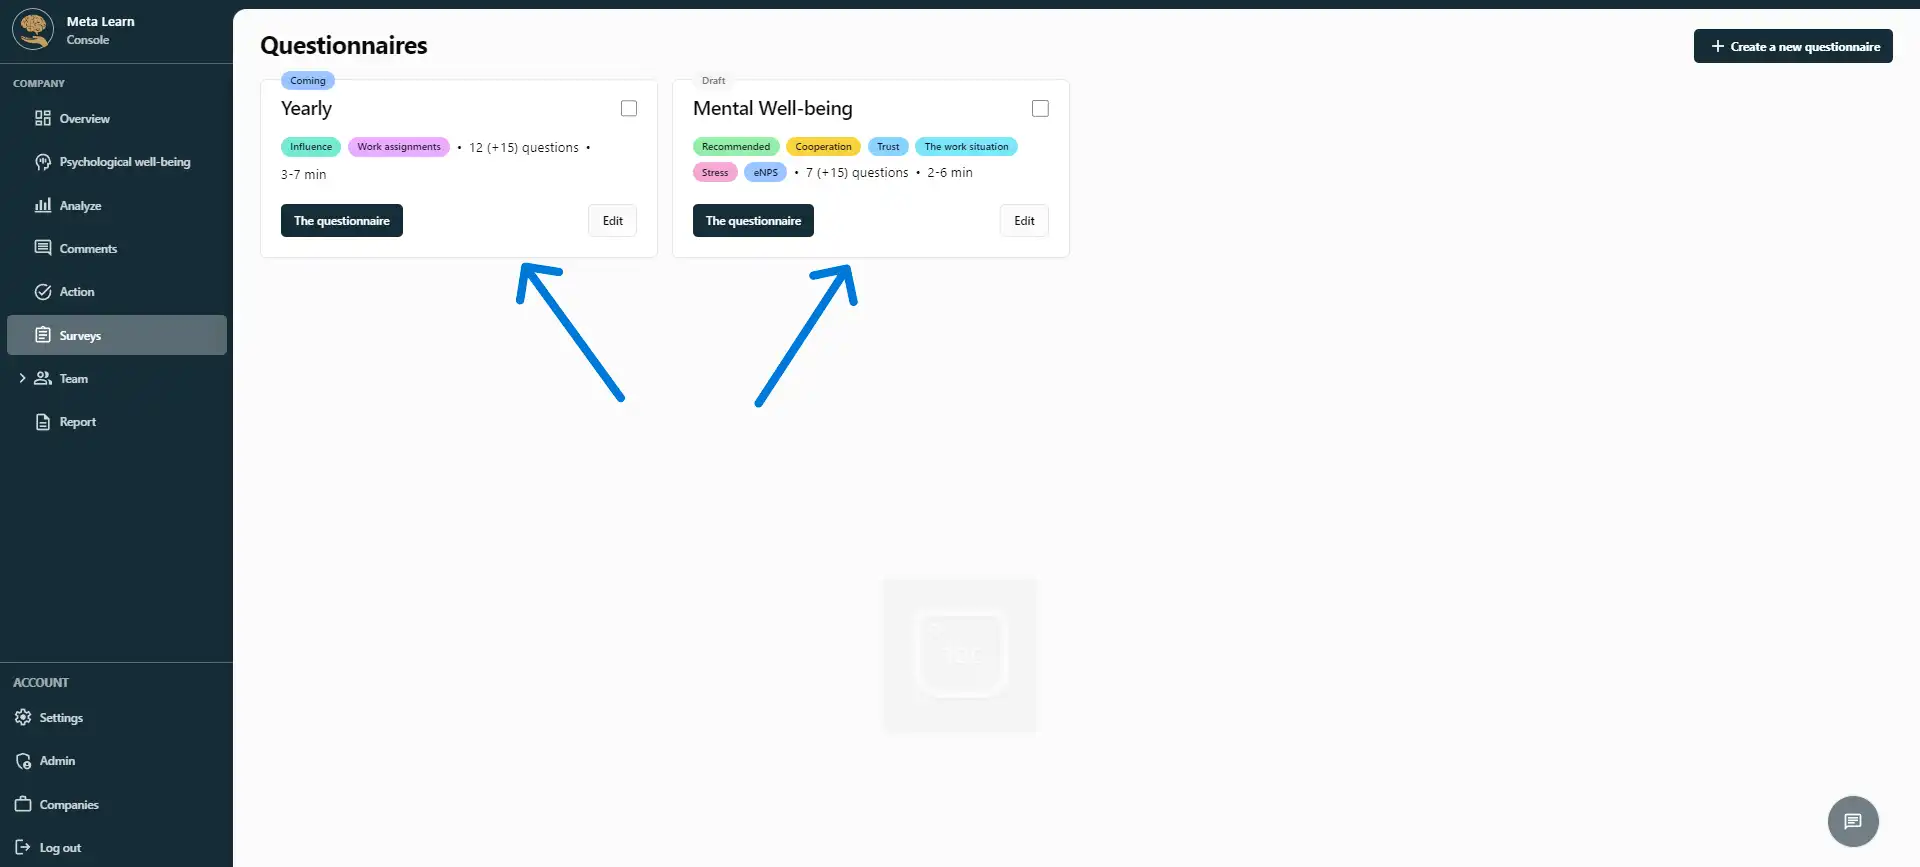
Here you can see the surveys you have created. In the example below, you can see that the company has two ongoing surveys: "Yearly" and "Mental Well-being".
(see the image below)
Step 3
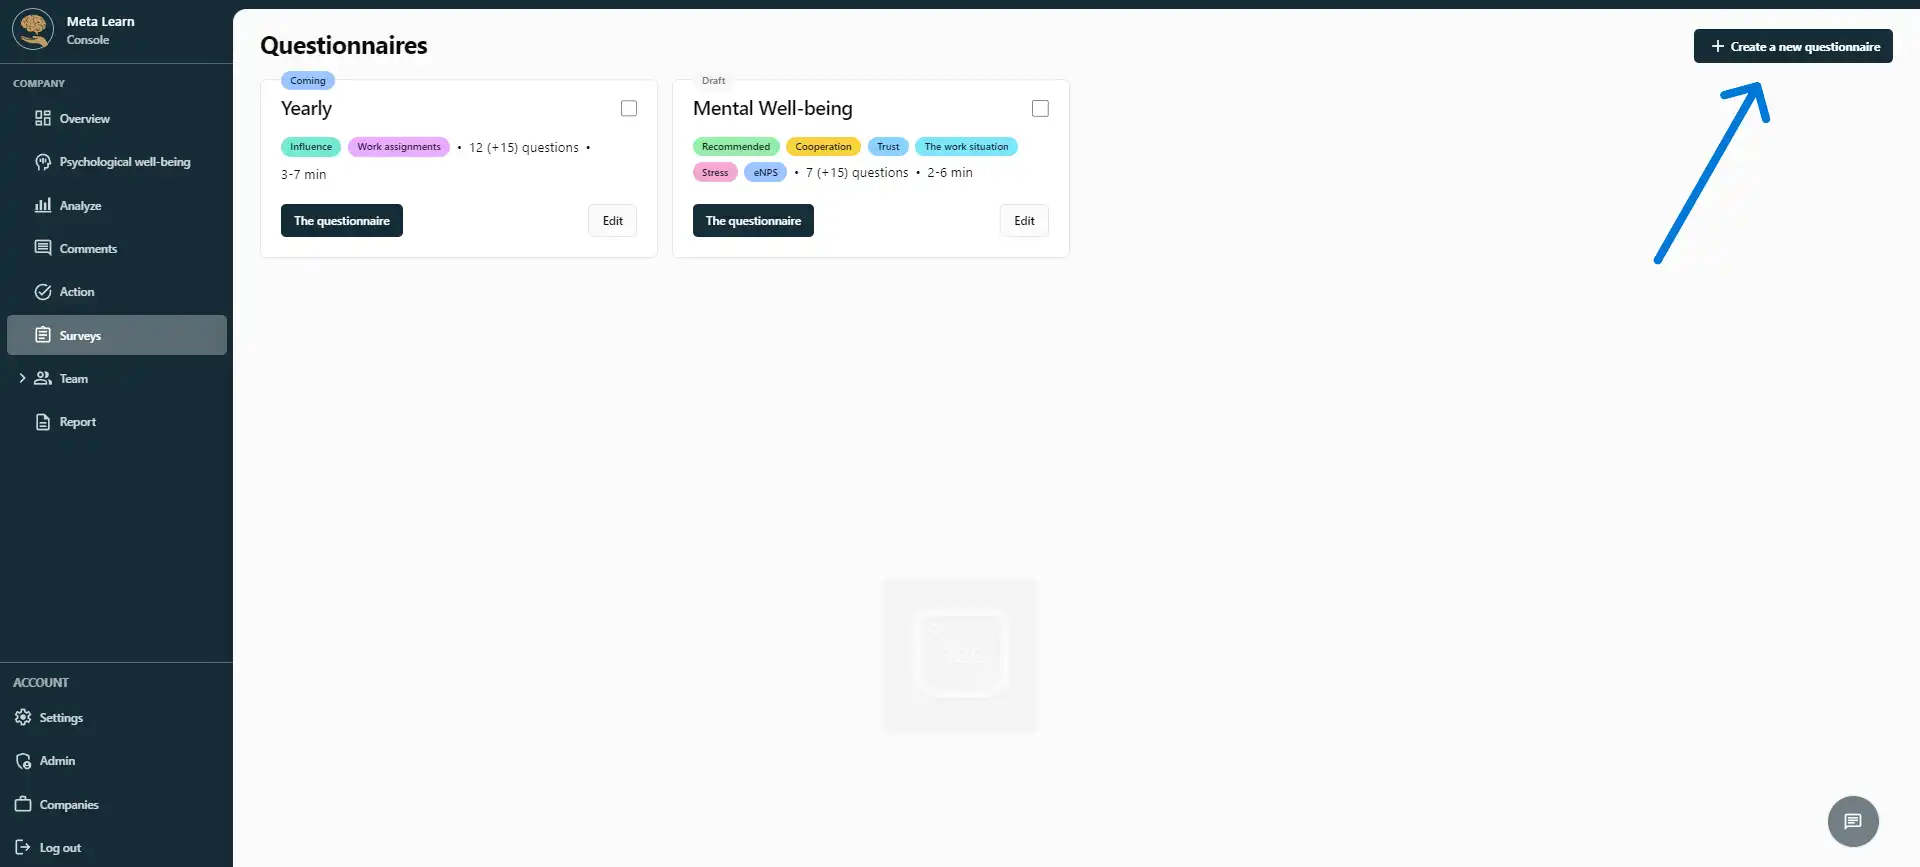
If you want to create a new survey, click on "Create a new questionnaire".
(see the image below)
Step 4
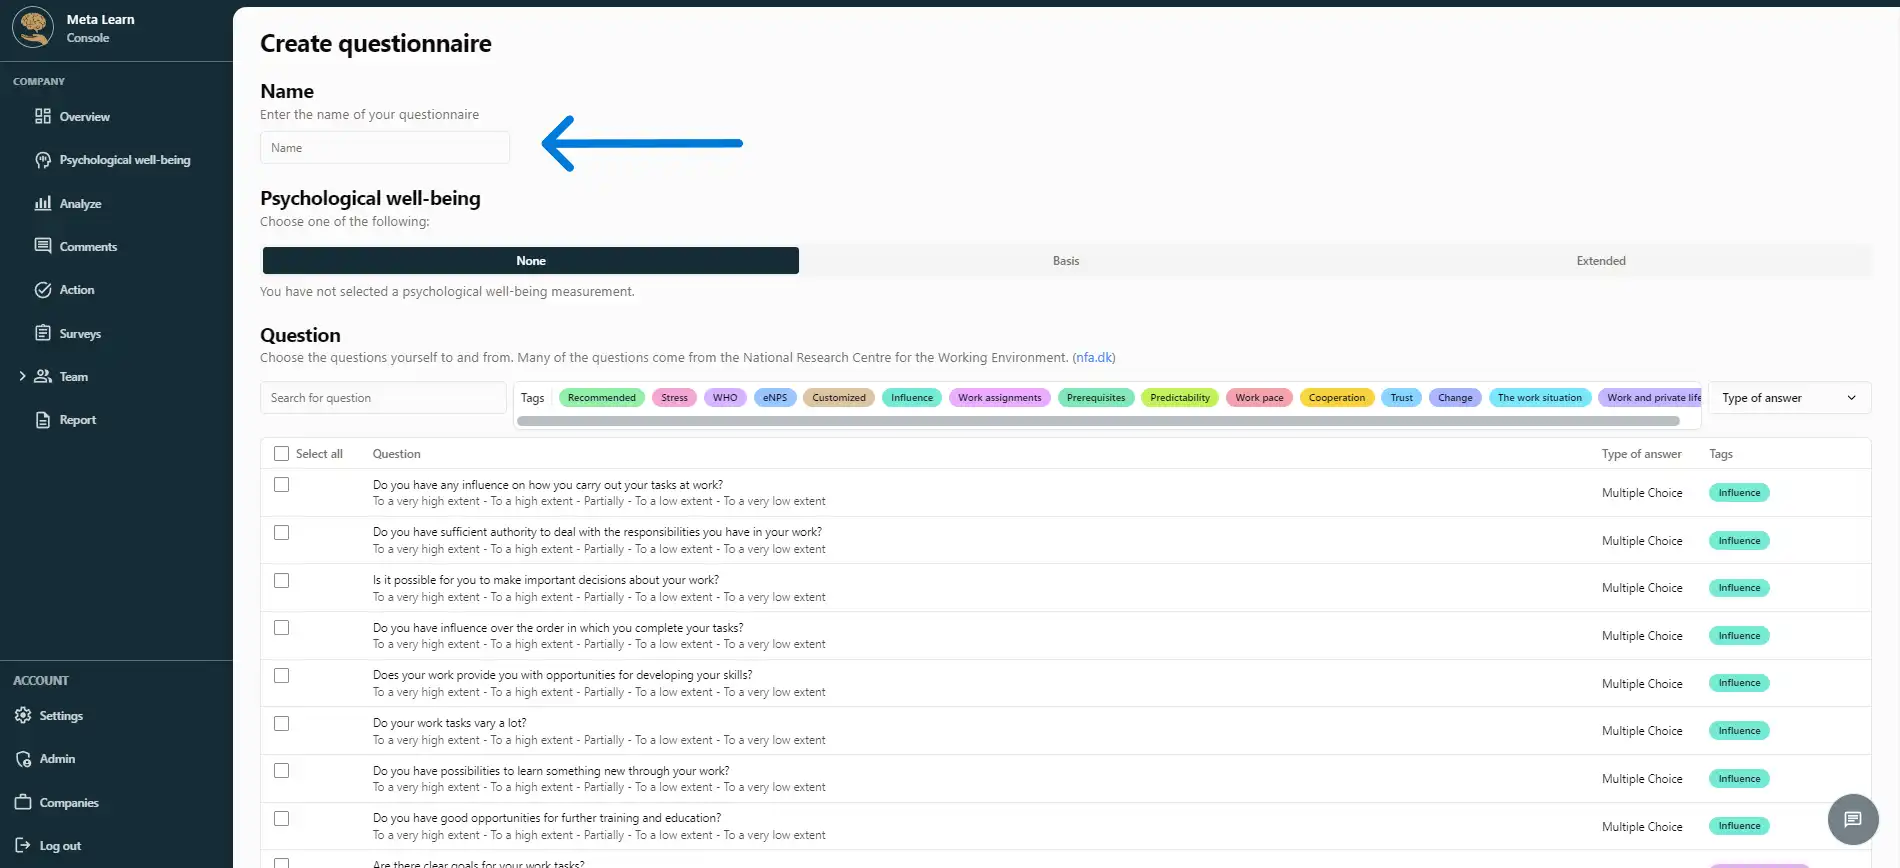
First, you need to name your survey. We recommend that you describe your survey as accurately as possible, as the name will be shown to your employees when they answer the questionnaire.
(see the image below)
Step 5
Next, you need to decide whether to activate the psychological well-being assessment. You can choose between: None, Basic, or Extended.
| None: | If you select "None" no questions will be asked about employees' mental health and well-being. |
| Basic: | If you select Basic, all employees will be asked two questions. These two questions help identify potential signs of distress or other issues that require Meta Learn's AI integration. If there is any sign of distress, the employee will be asked an additional 15 questions to assess their mental health. Based on the answers, our AI solution will provide a personalized and effective strategy to improve the employee's mental well-being. |
| Extended: | If you select Extended, all employees will receive our full set of psychological questions, providing a complete picture of their mental well-being. |
(see the image below)
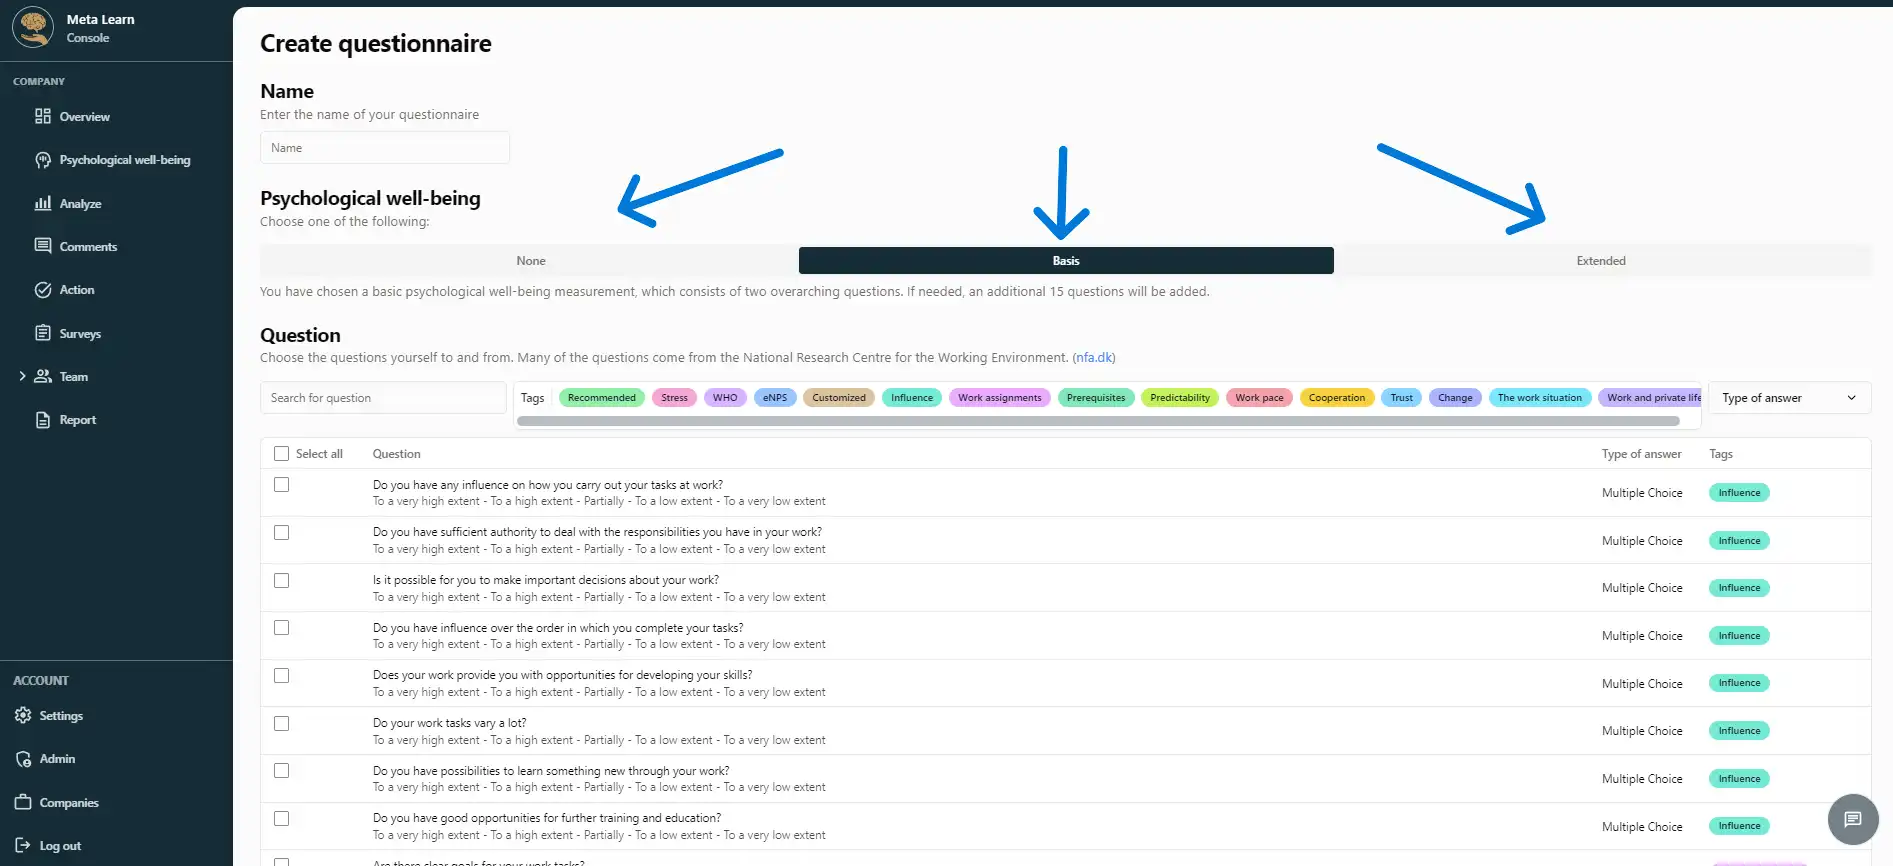
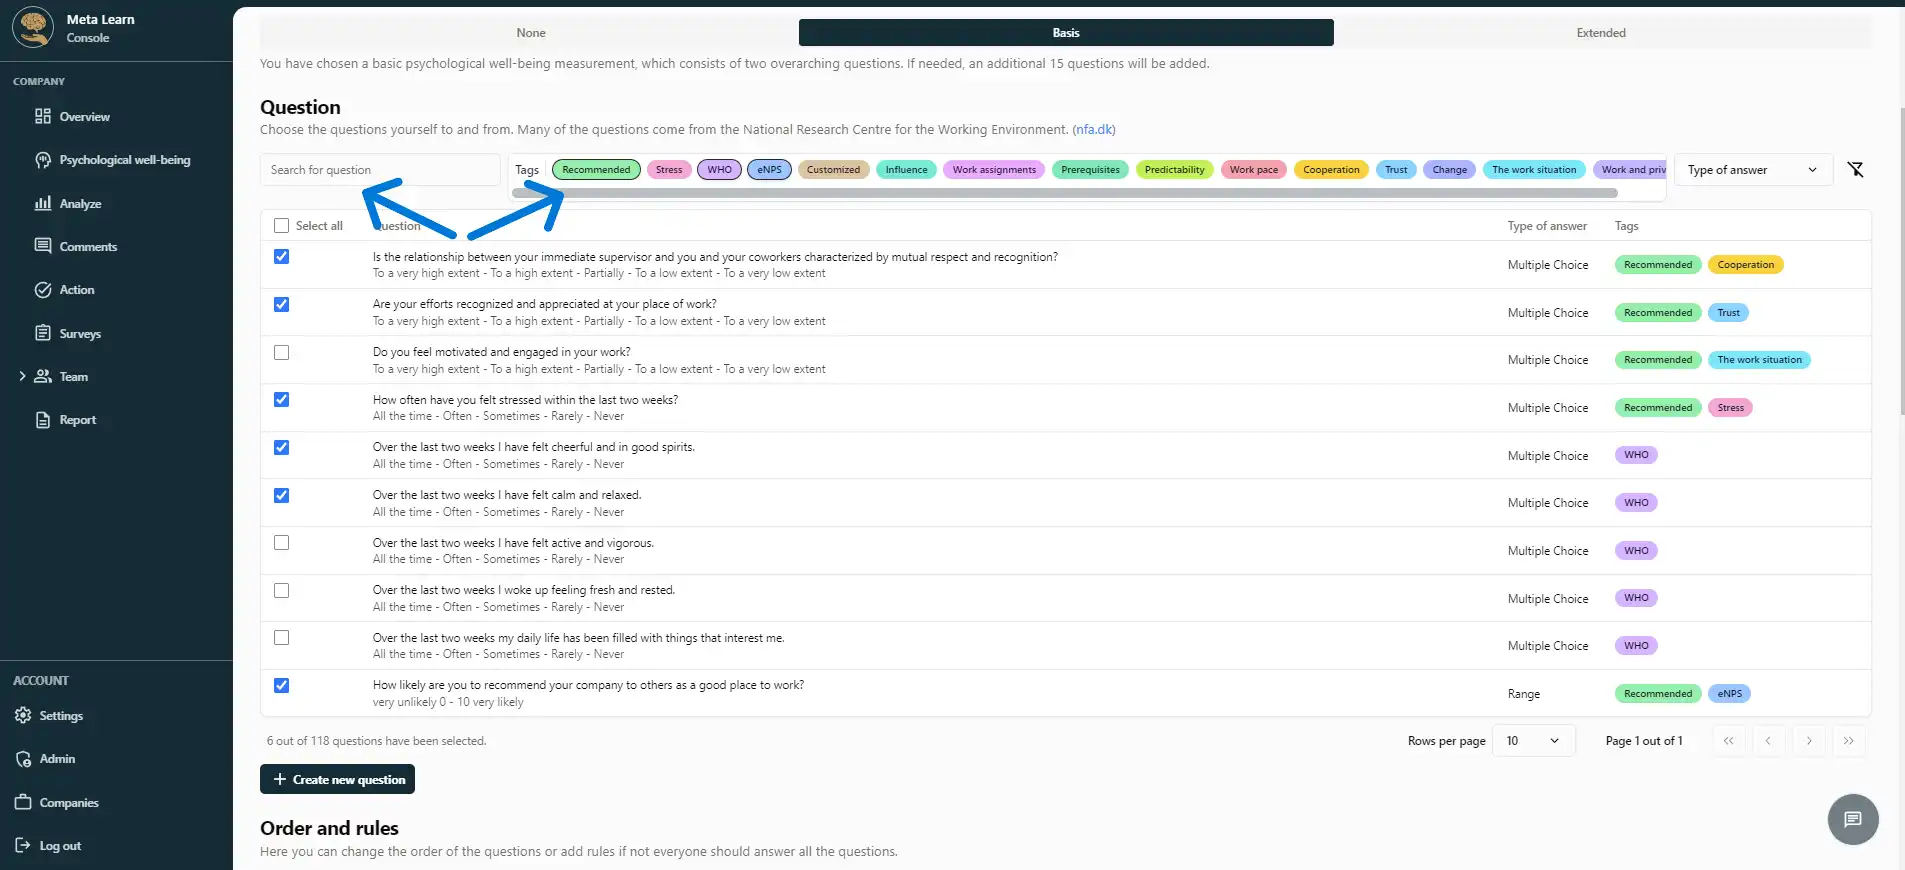
Step 6
Now, you need to select the questions for your survey. You can use our search function or click on different tags to find relevant questions. The questions available are approved and developed by the "National Research Center for the Working Environment" in Denmark.
(see the image below)
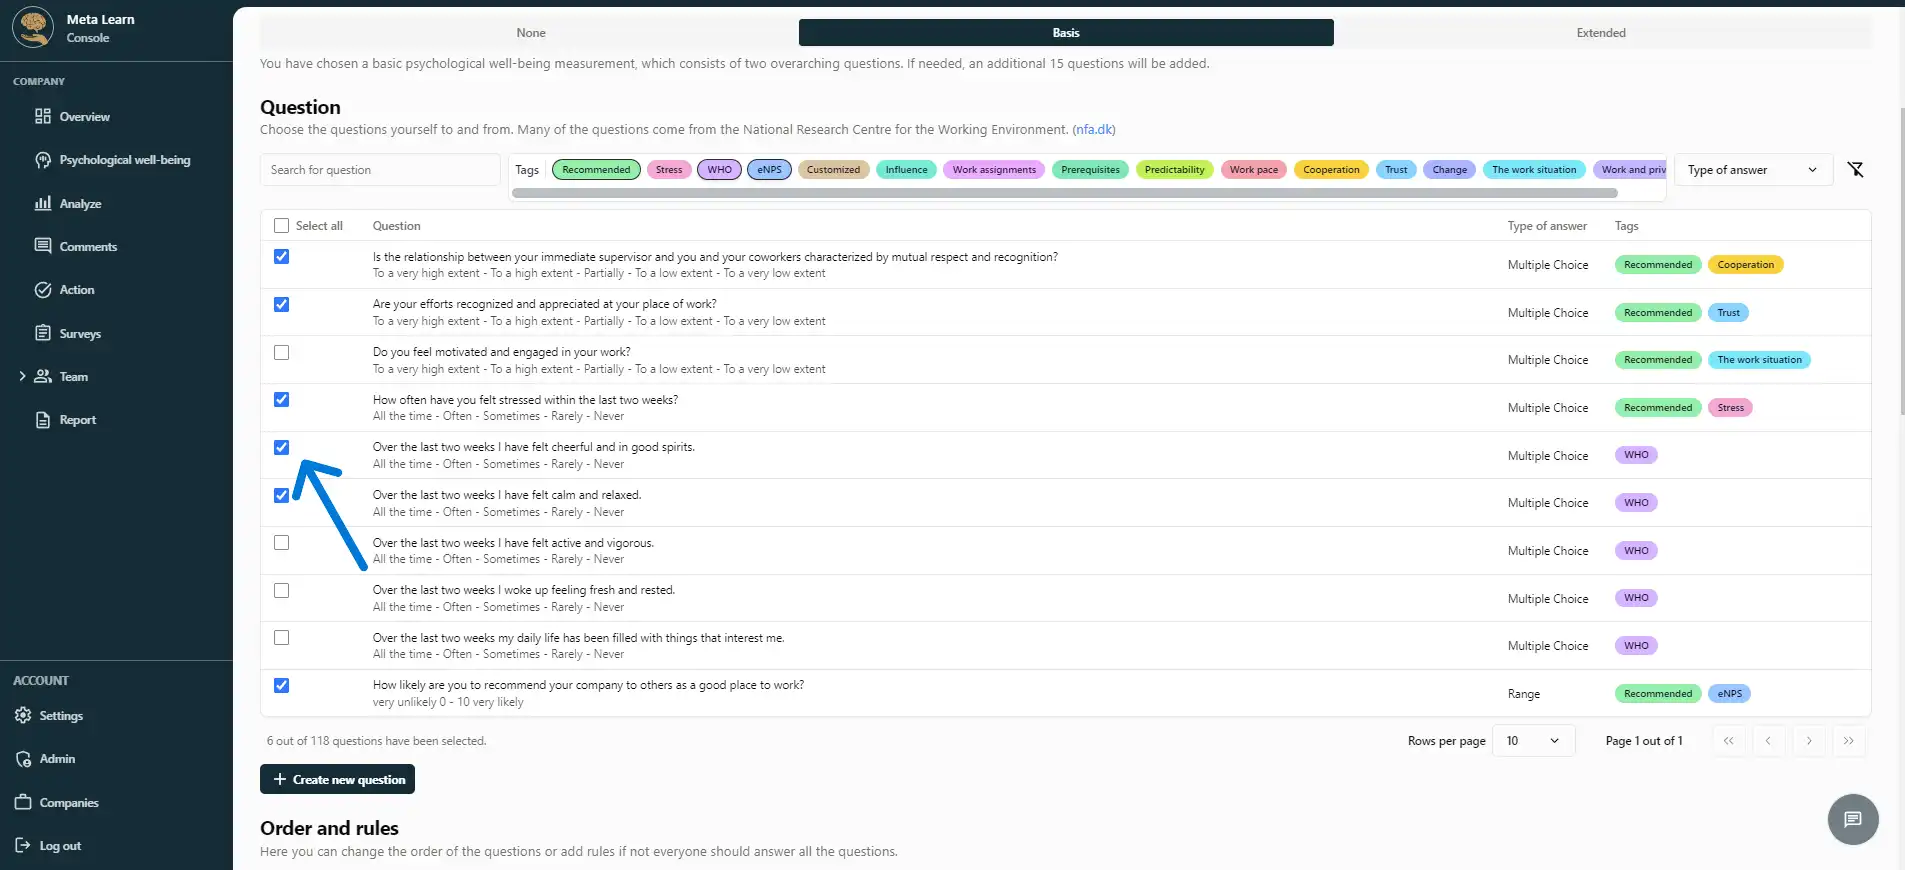
Step 7
Click on the questions you want to include in your survey by selecting them with your mouse.
(see the image below)
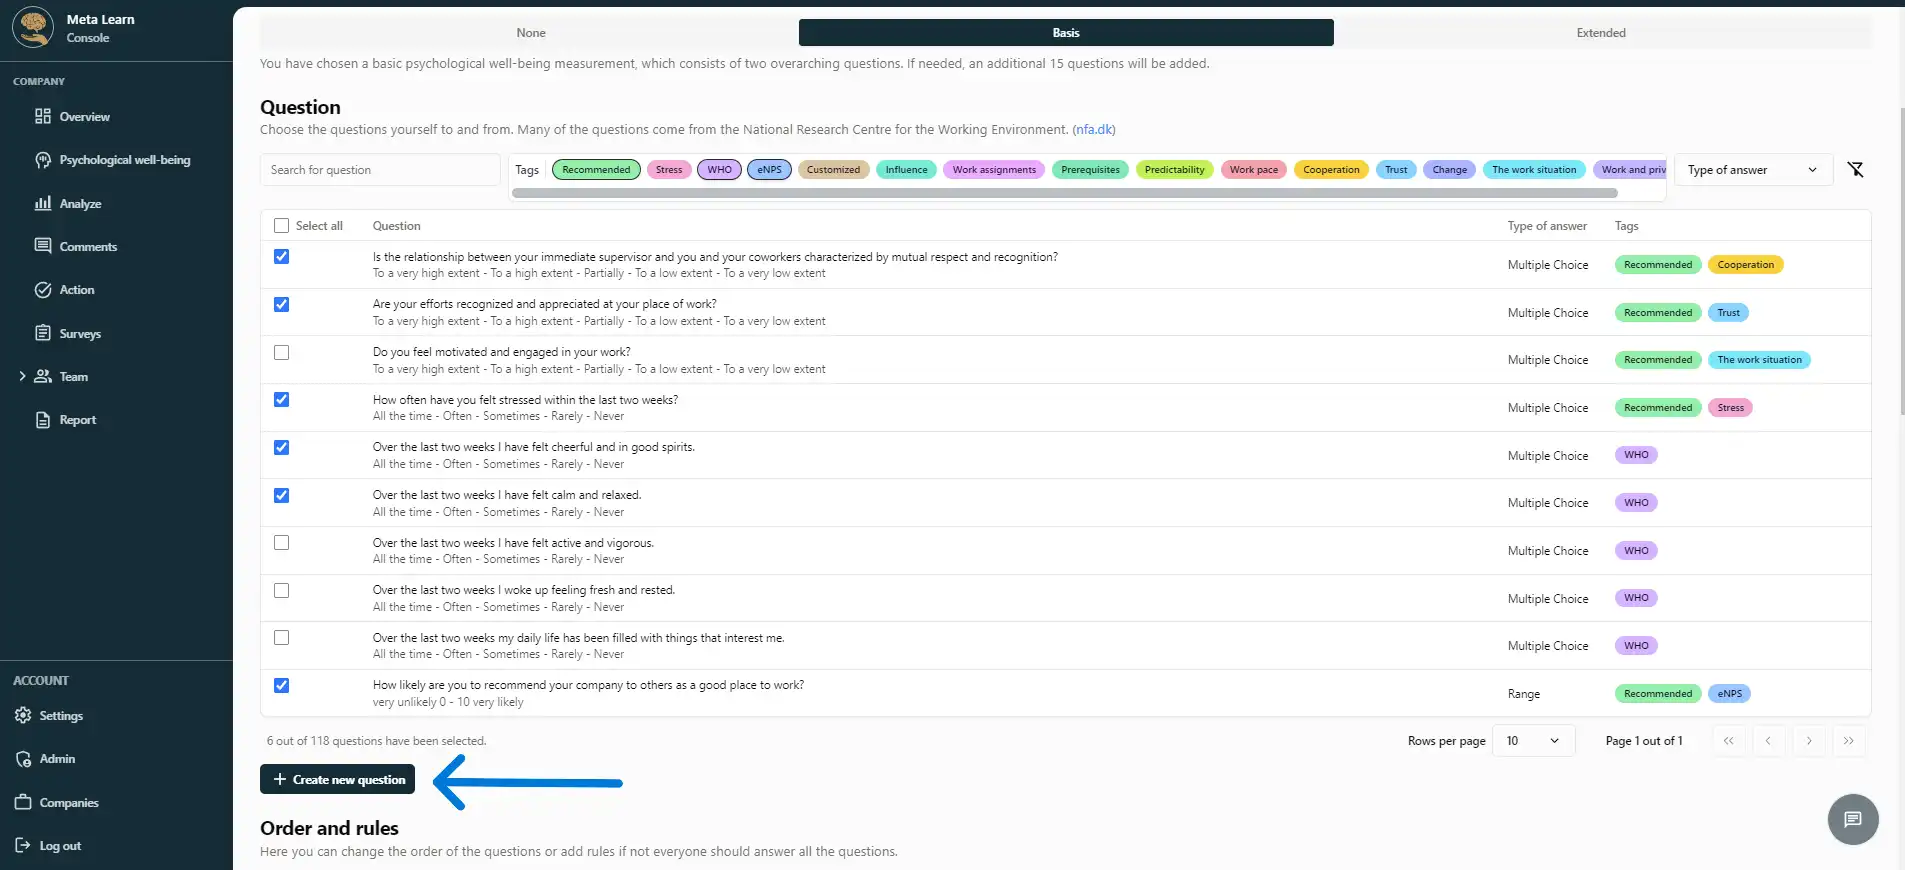
Step 8
If you want to create your own question, you can always click on "Create new question."
(see the image below)
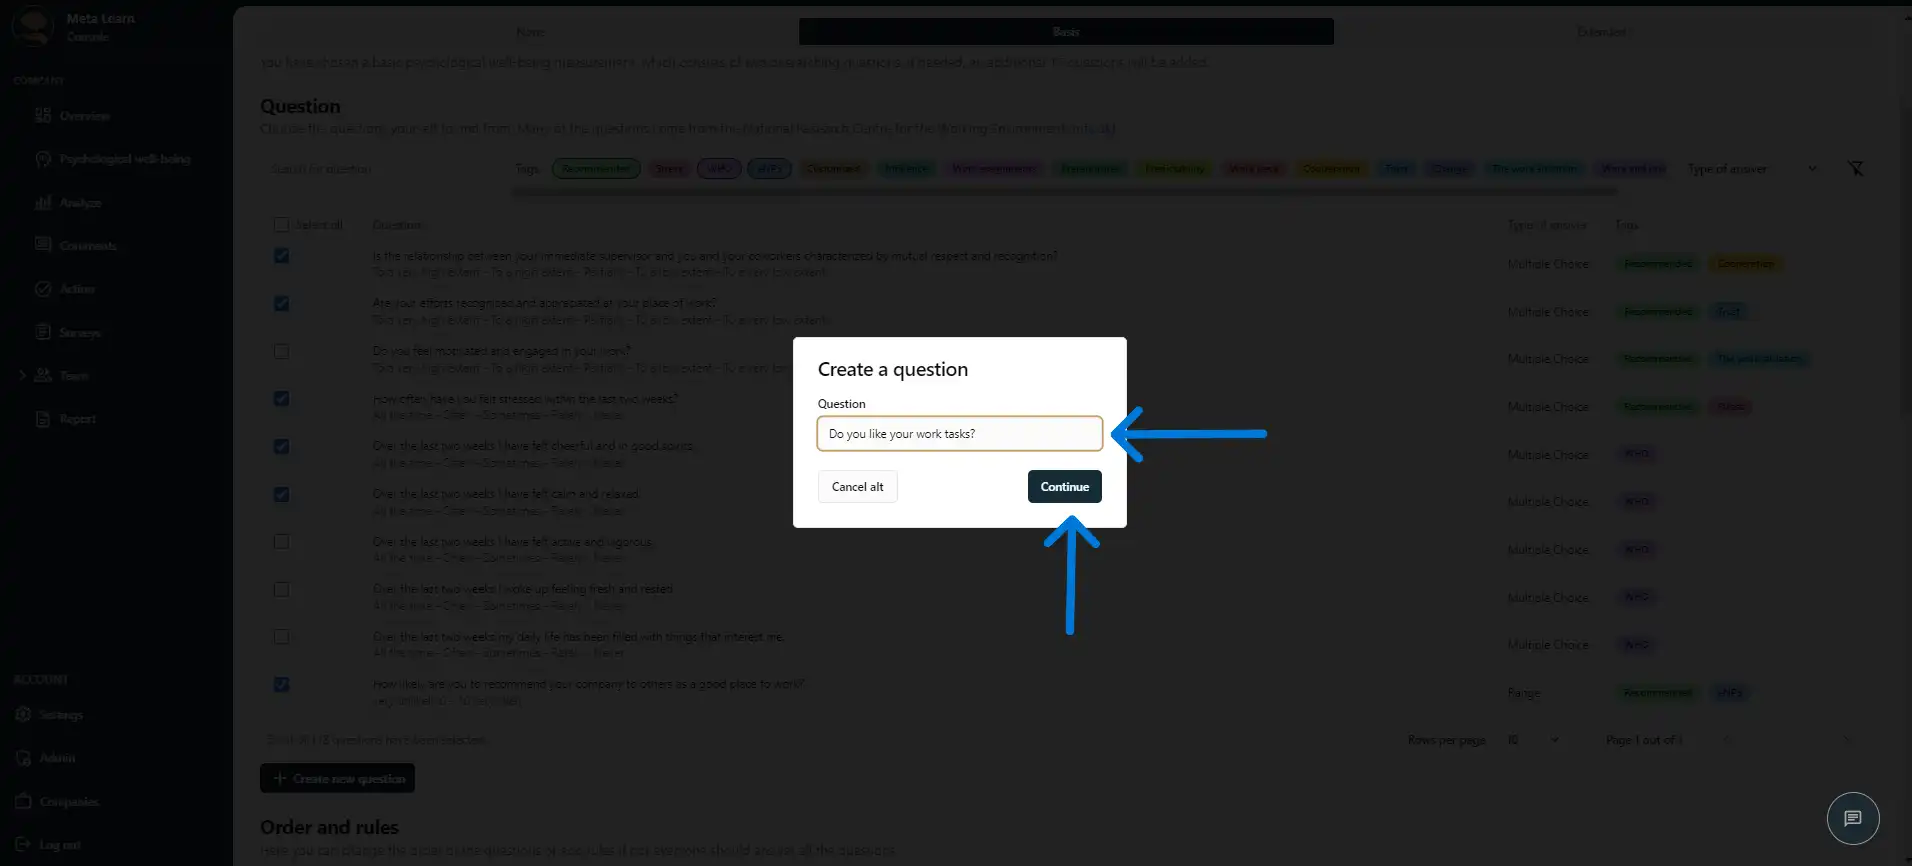
Step 9
Now, write the question you want to add to your survey. Once you have written the question, click "Continue".
(see the image below)
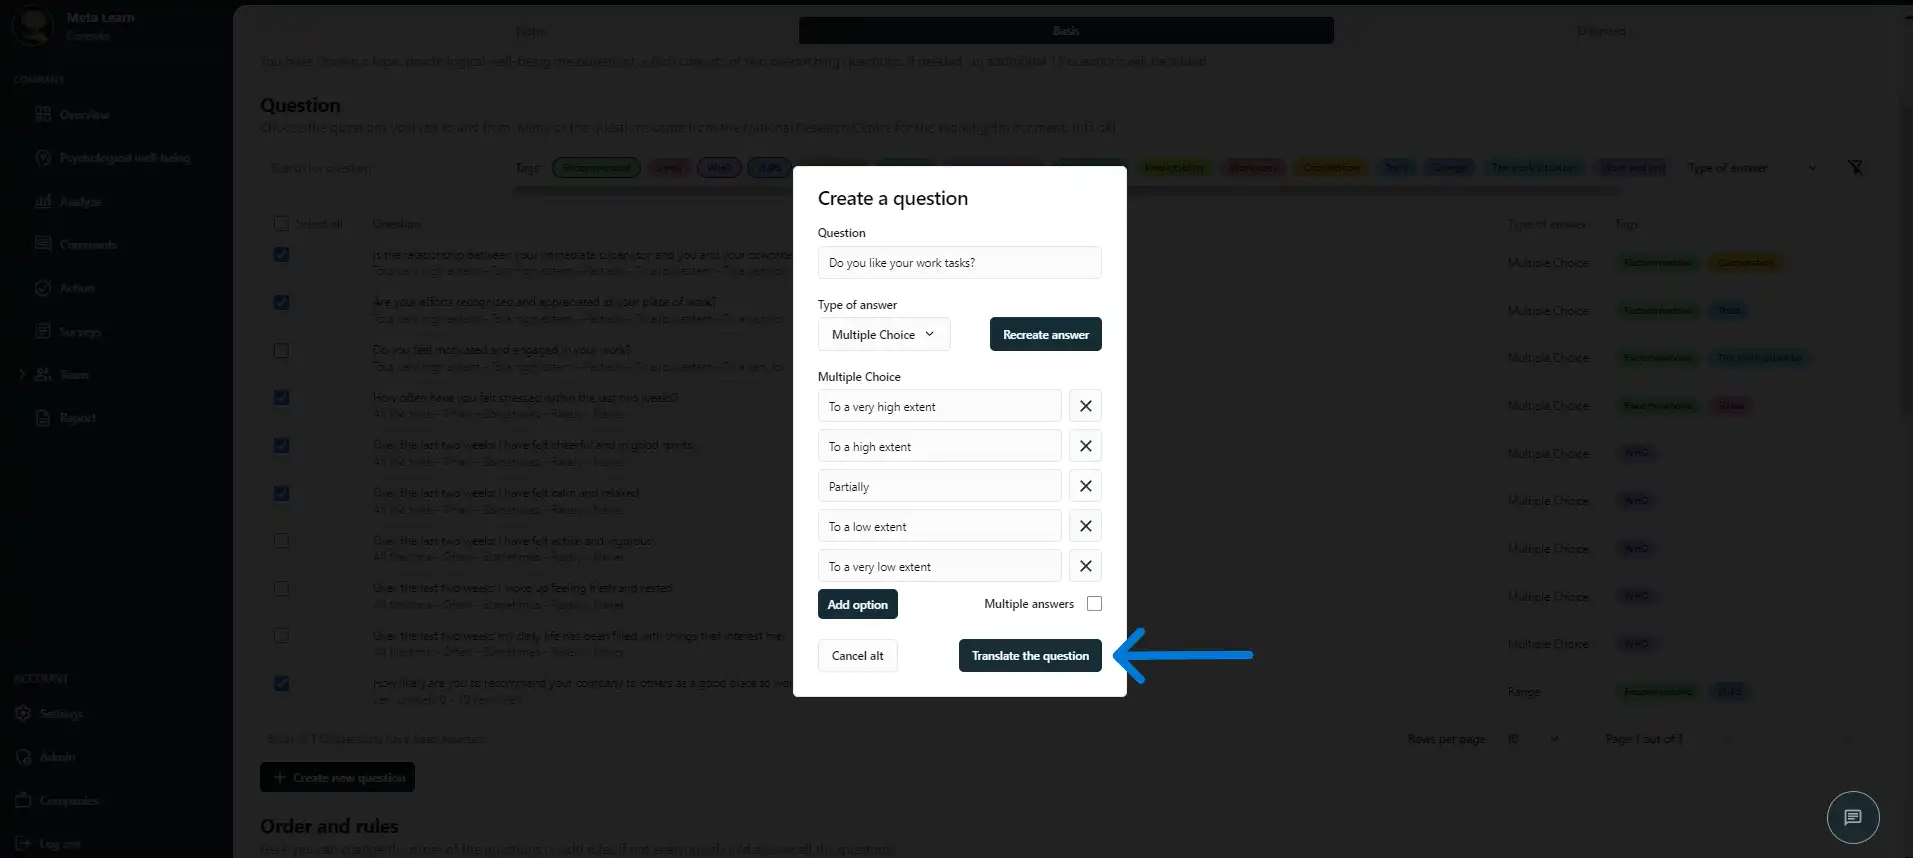
Step 10
Our AI will automatically generate the best answer options for your question. However, you can always modify the answer options or the response type to fit your needs.
Once you approve the answer options, click "Translate the question".
(see the image below)
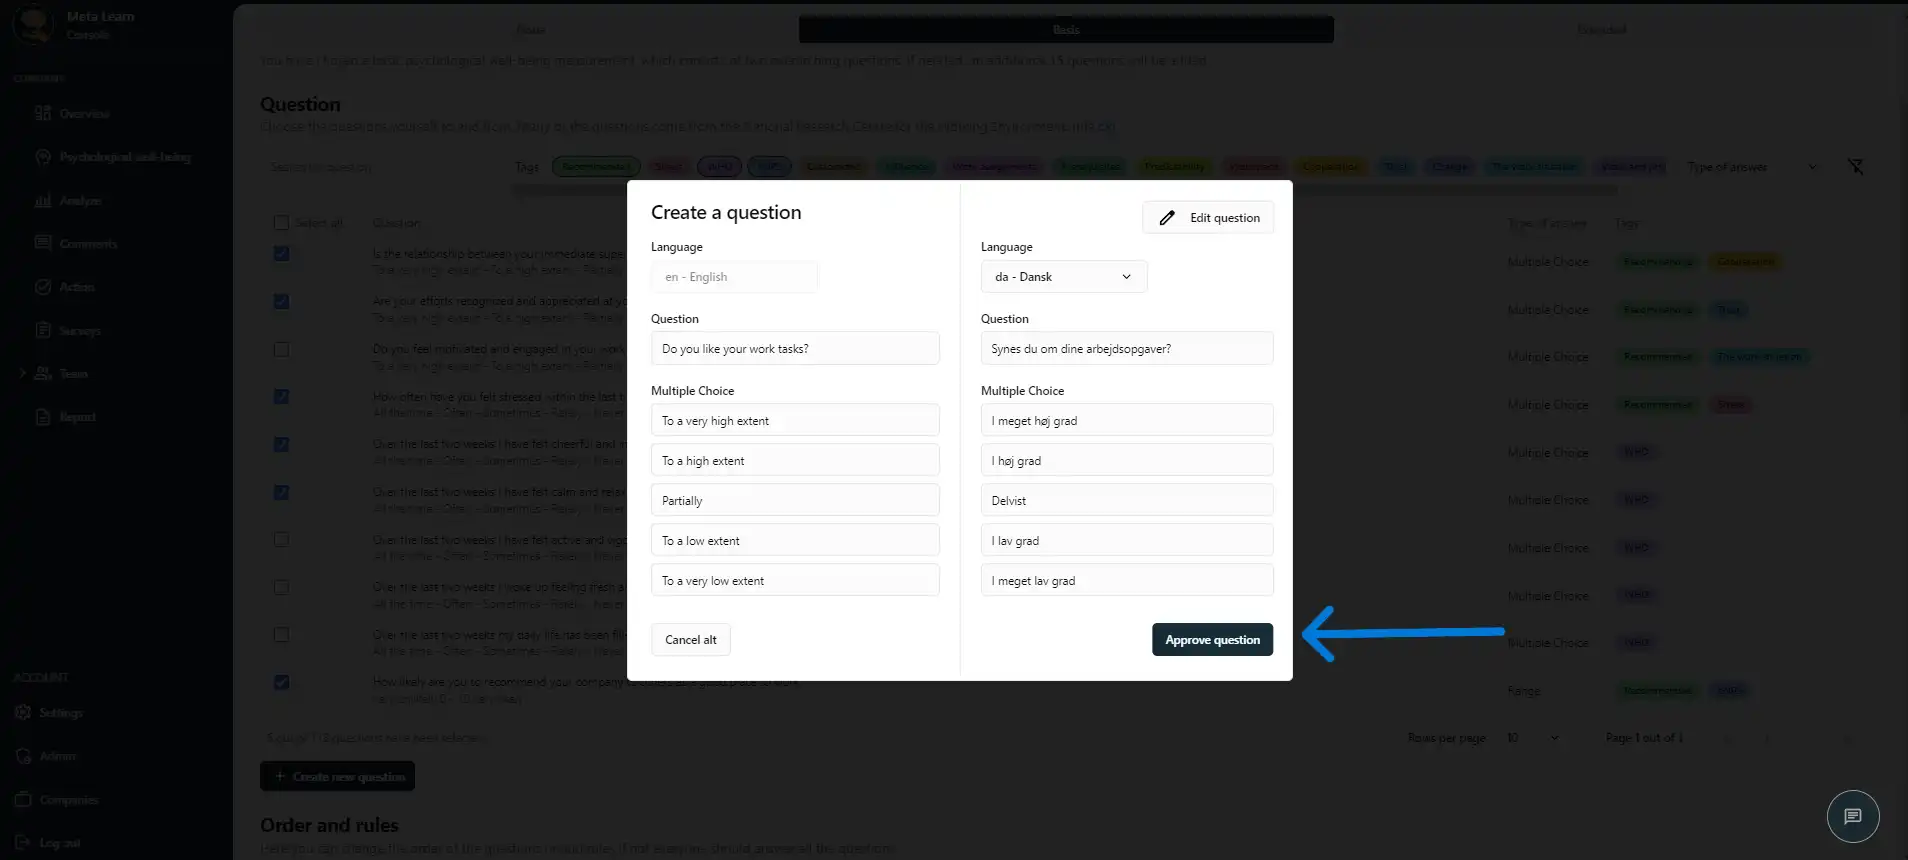
Step 11
Our AI has automatically translated your question and answer options into multiple languages, ensuring your employees receive them in their preferred language.
Once you approve the translations, click "Approve question".
(see the image below)
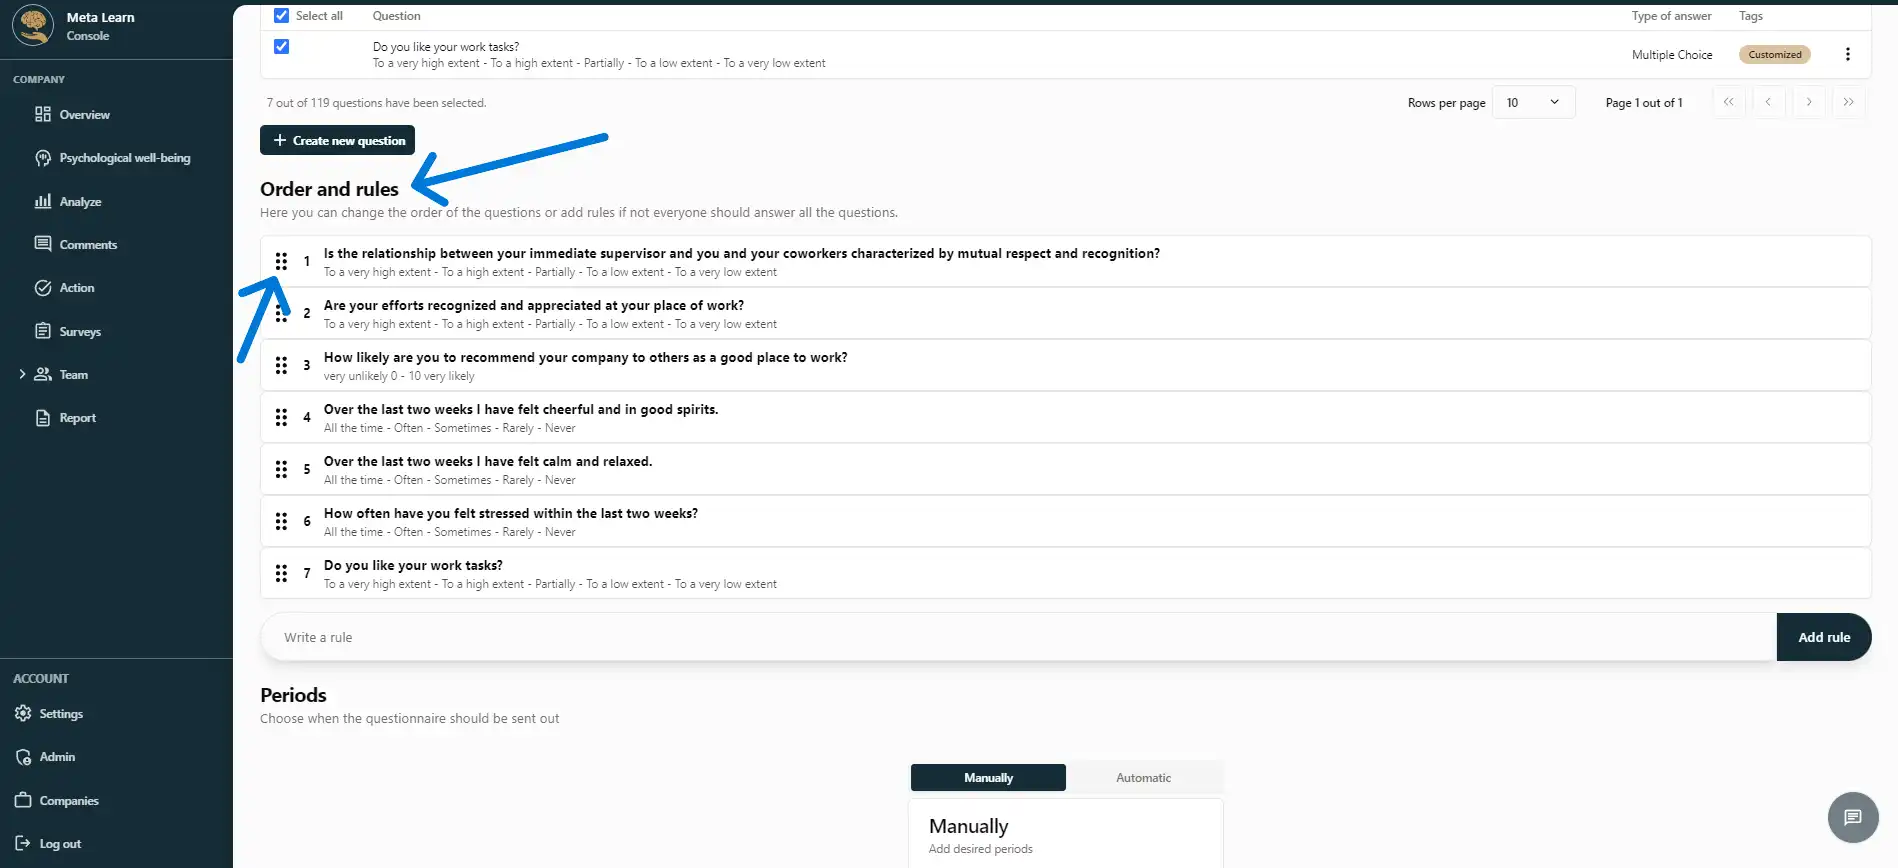
Step 12
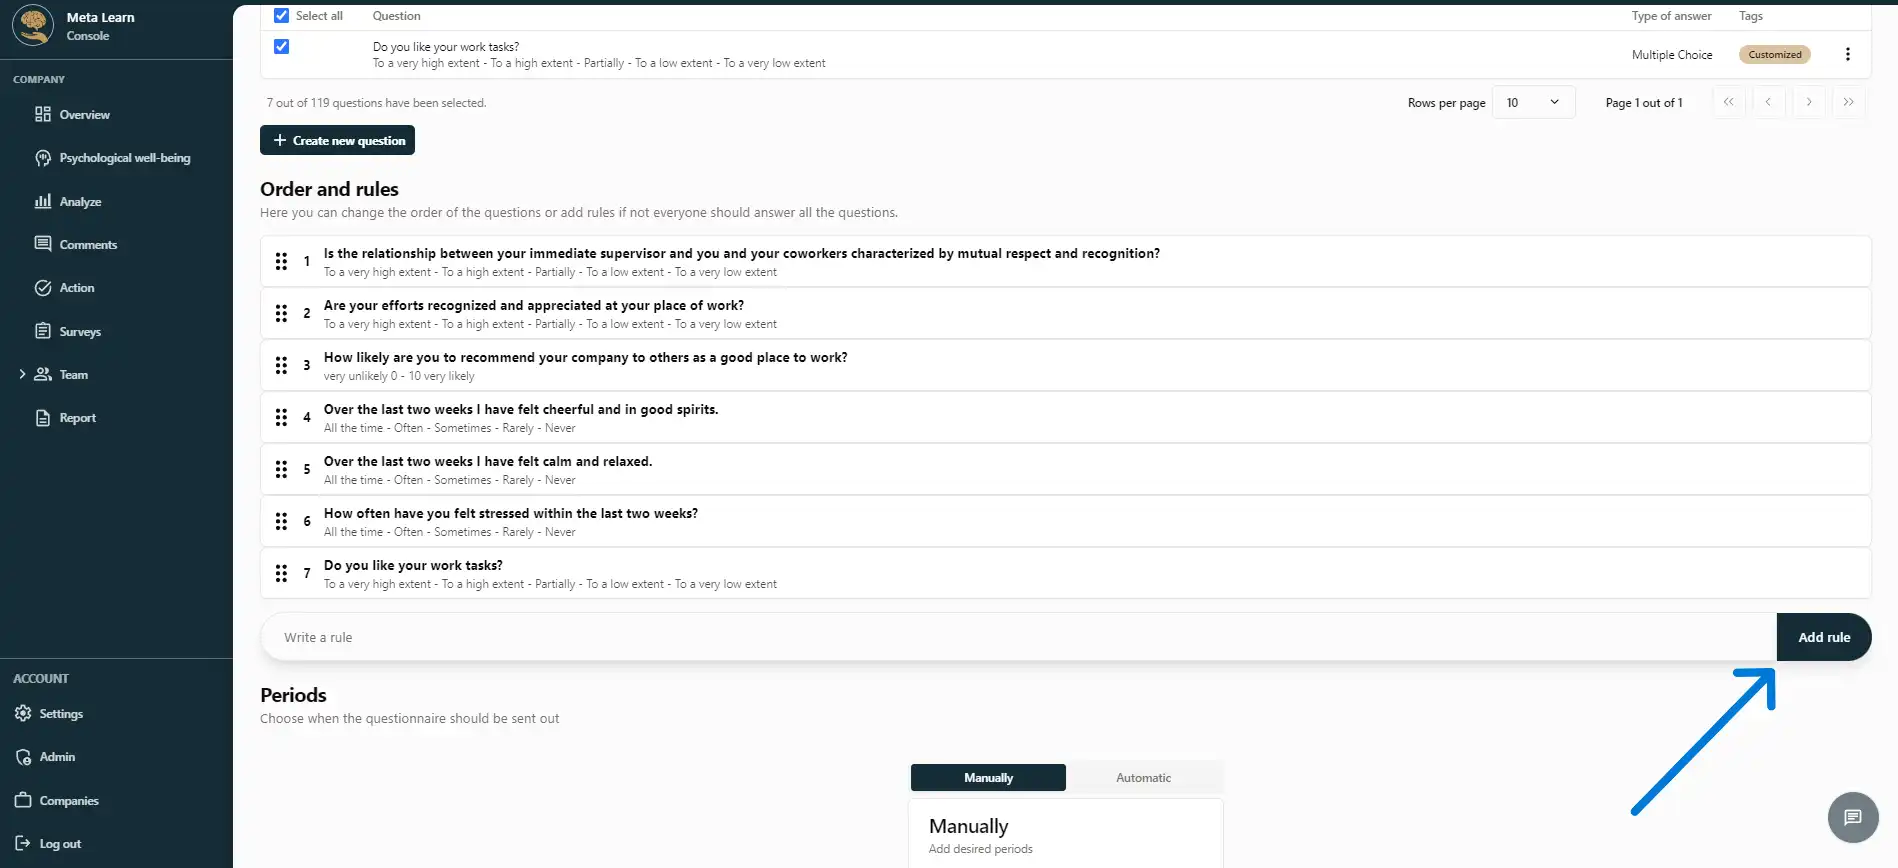
Once all questions have been selected, you can rearrange the order by dragging and dropping them.
(see the image below)
Step 13
If you want to add a rule to your survey, you can write it here. When you click "Add rule", our AI will understand and apply the rule to the questionnaire.
For example, you might want to show certain questions only if a specific answer is given. Simply describe the rule you want, and our AI will handle the rest.
(see the image below)
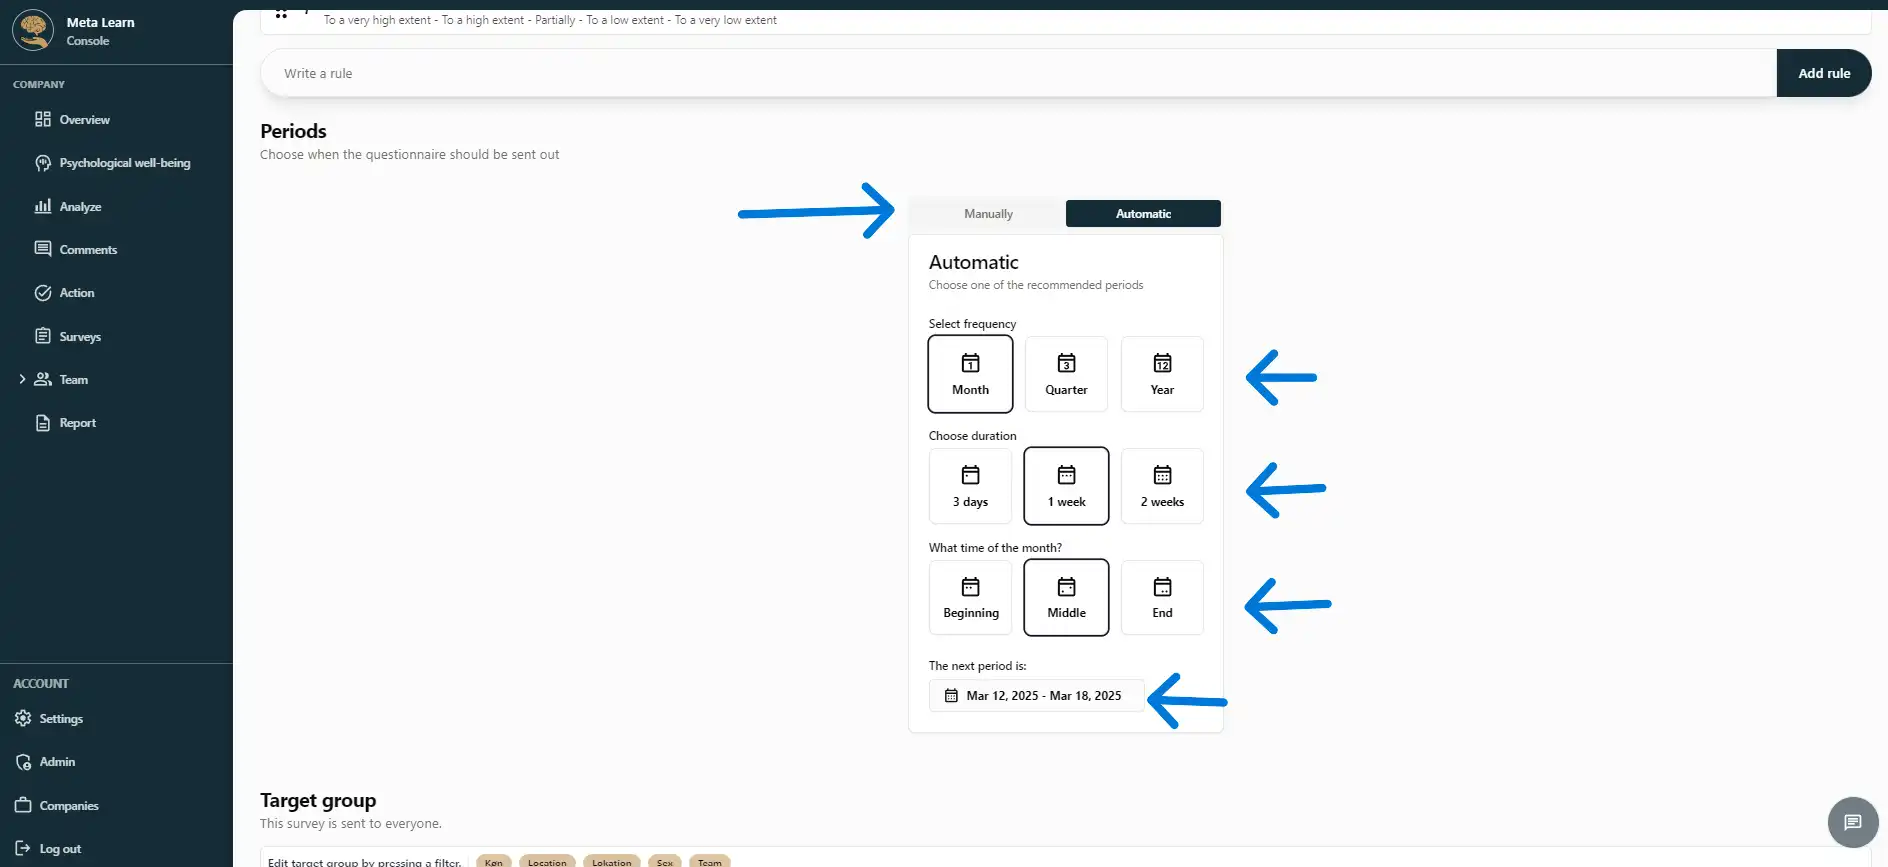
Step 14
Now, choose when the survey should be sent out.
| Manual: | You can select specific dates in the calendar when the survey should be active. |
| Automatic: | The system will suggest optimal sending times based on best practices, and you can choose from these options. Once set, the survey will be sent automatically. |
At the bottom, you can see when the survey will be sent for the first time.
(see the image below)
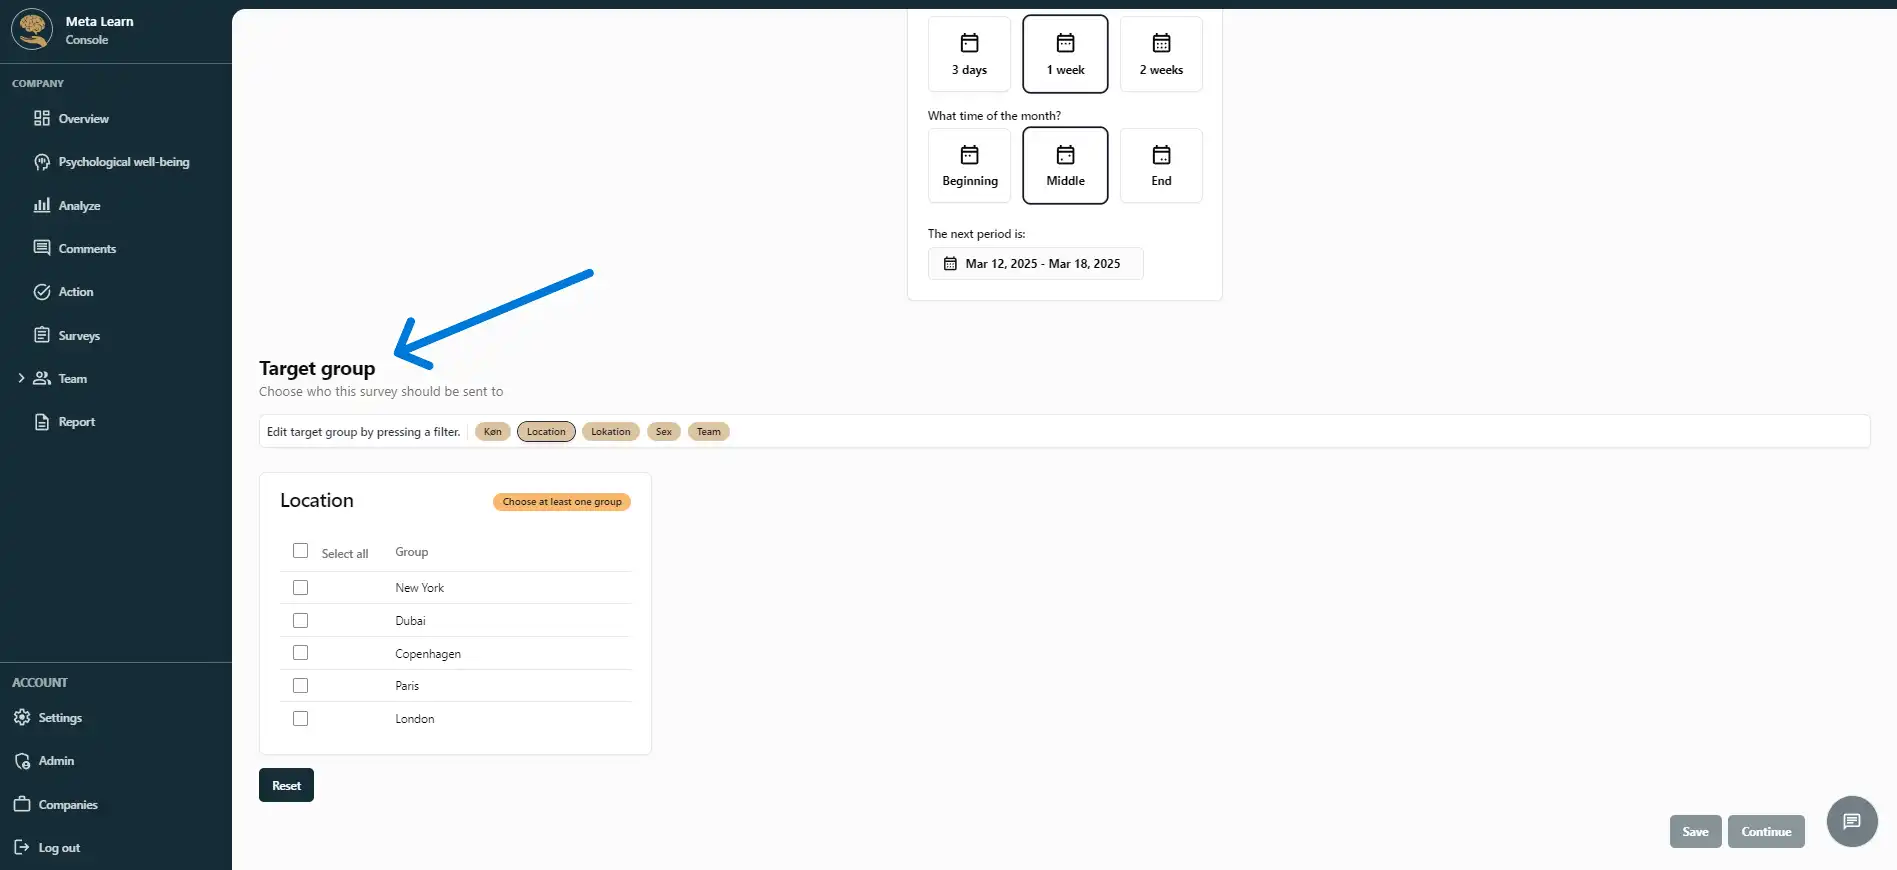
Step 15
Finally, you can choose whether only specific departments/teams should receive the survey. If you do not select anything, the survey will be sent to all employees.
(see the image below)
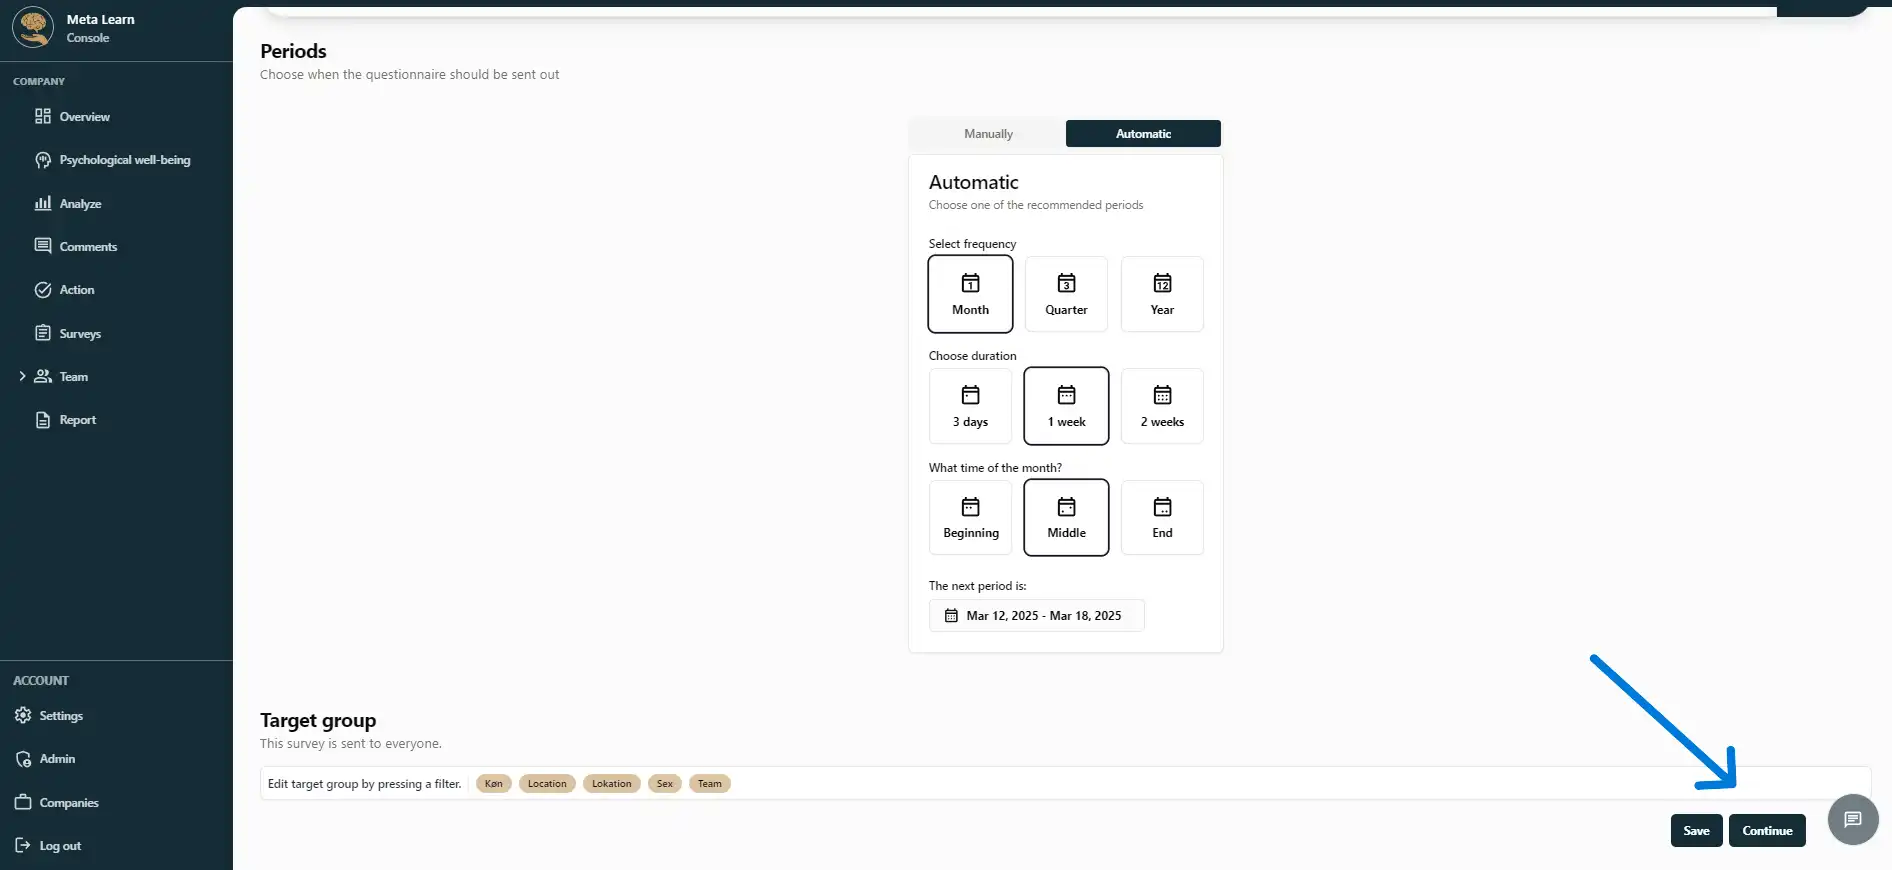
Step 16
The survey is now complete! Click "Save and continue" to proceed to the final step.
(see the image below)
Step 17
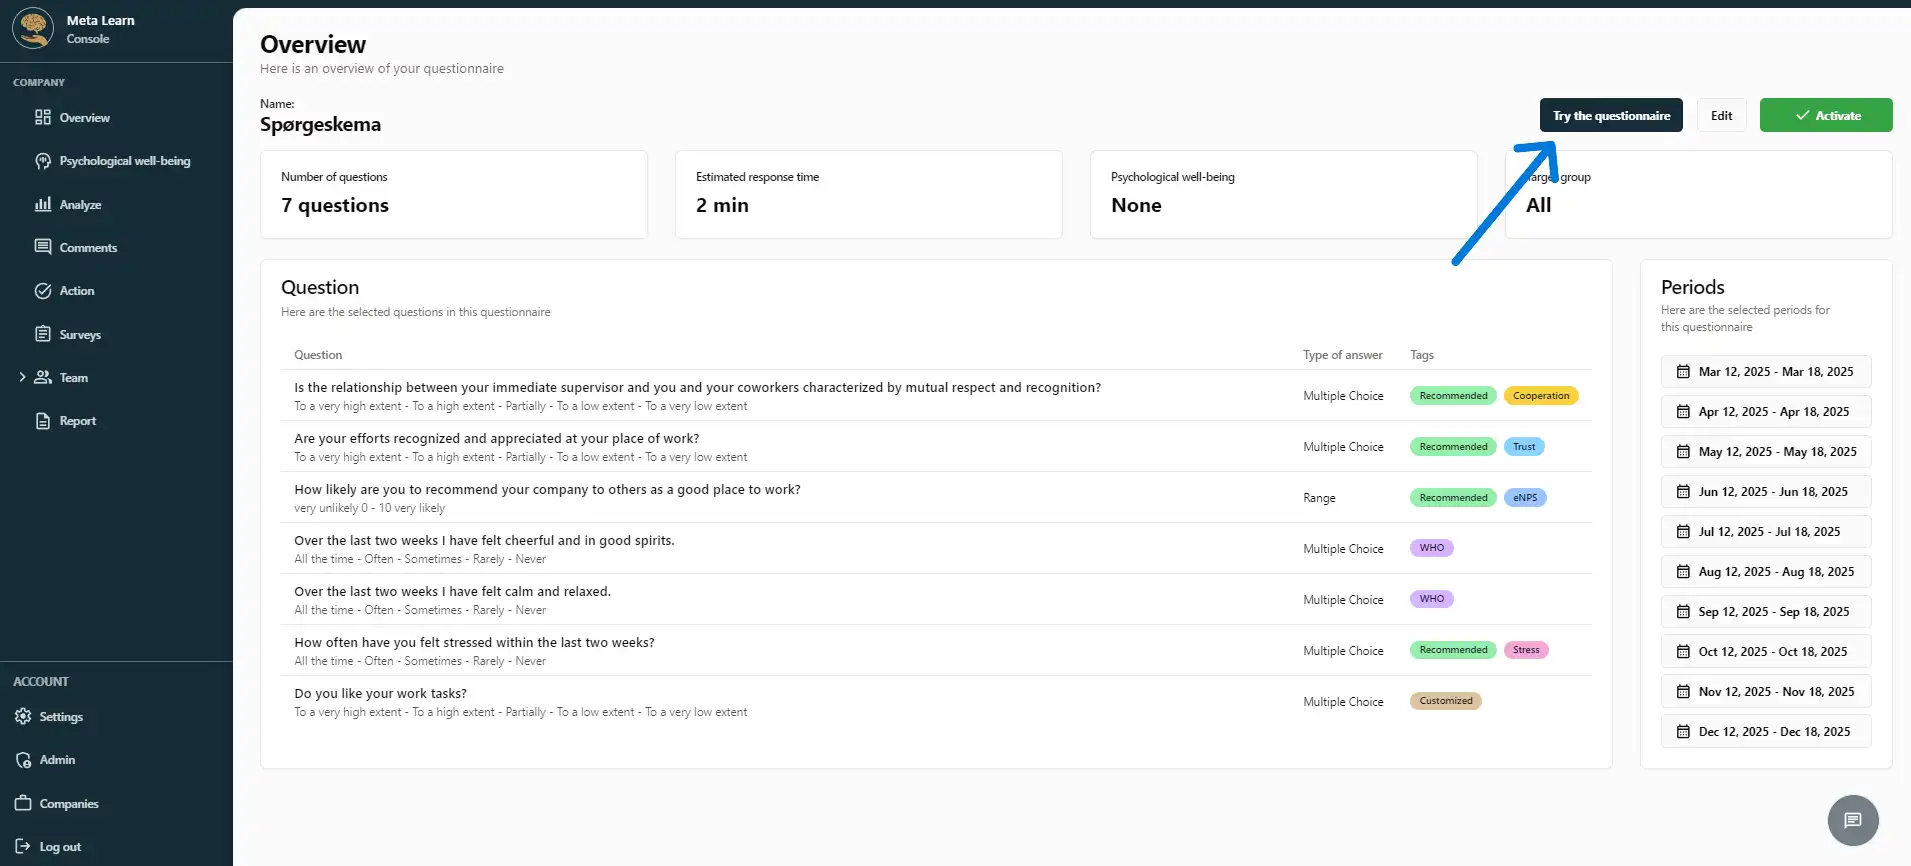
Now, you have the opportunity to review your survey.
If you want to test the questionnaire before sending it to your employees, click "Try the questionnaire".
(see the image below)
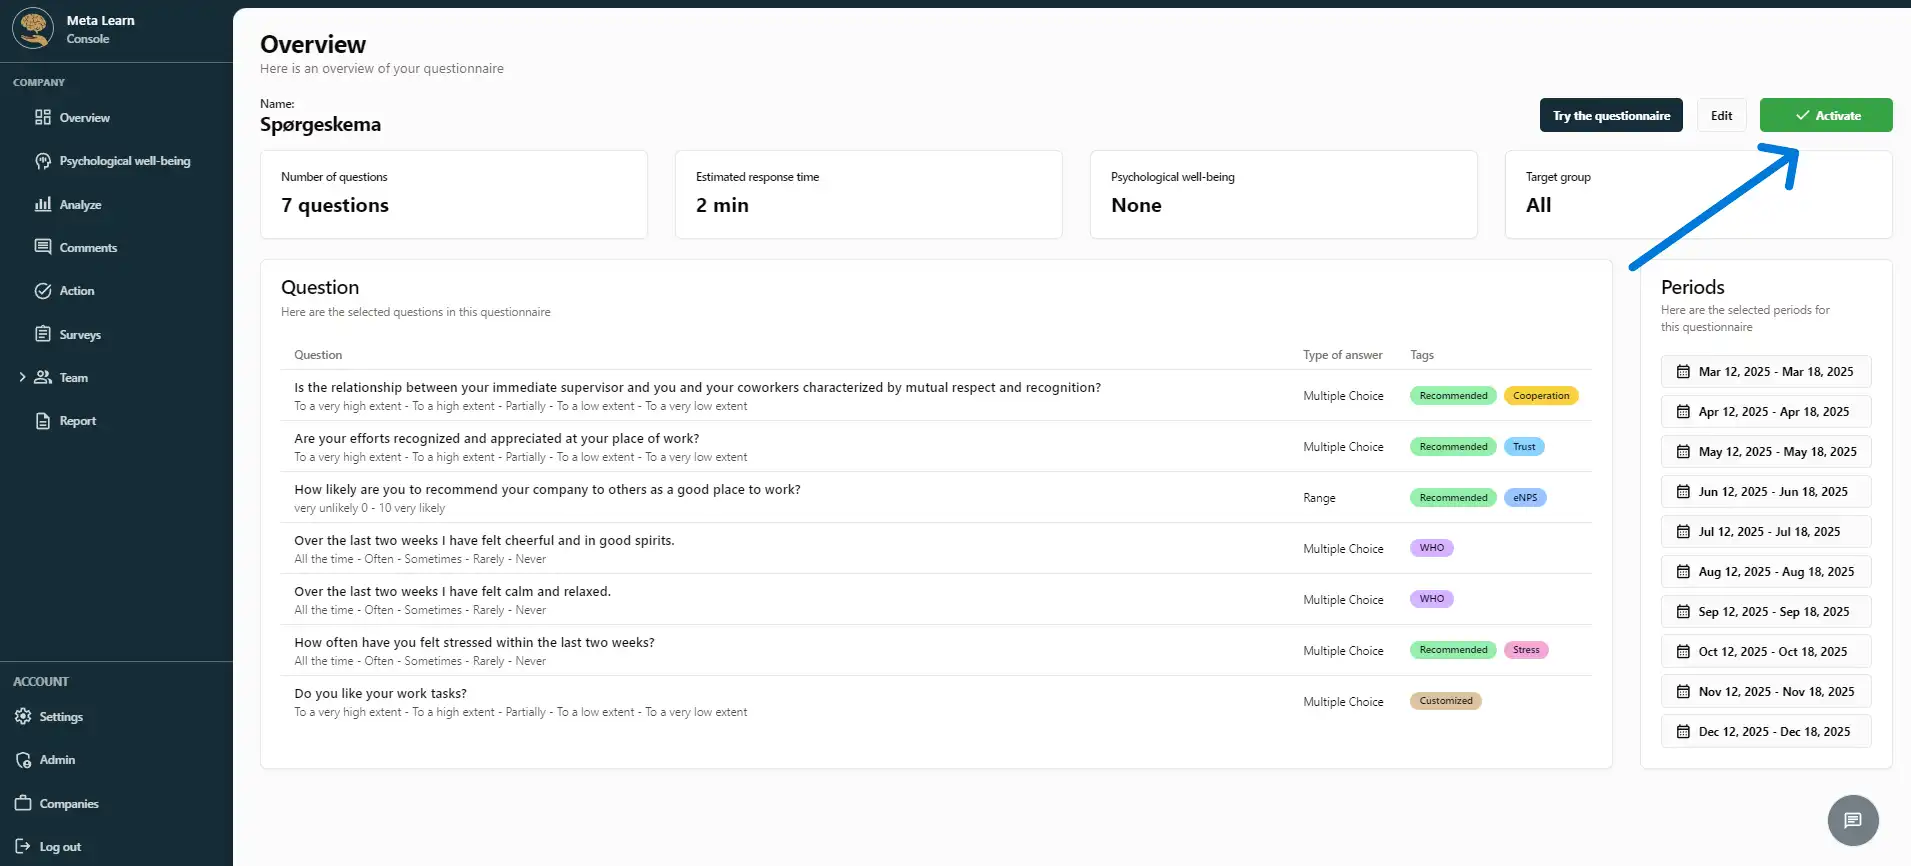
Step 18
If the survey is ready, simply click "Activate", and it will be scheduled for the selected start date.
(see the image below)
Congratulations!
You have now successfully created and activated your survey, and no further action is required.